How Polyester Woven Fabric Is Dyed: Pretreatment, HT Exhaust, Reduction Clearing and Heat Setting
Most woven polyester reaches a dyehouse as greige cloth and leaves it as colour. Between those two points sit a handful of stages — pretreatment, high-temperature dyeing, reduction clearing, after-treatment and heat setting — and almost every shade complaint traces back to one of them. A buyer who understands the route can predict cost and lead time more accurately, read a fastness report with more insight, and diagnose a shade problem in minutes instead of weeks. This guide walks through each stage of polyester piece dyeing for apparel wovens, then covers the two variation patterns that cause the most disputes: side-centre shade difference and lot-to-lot shade difference.
Why Polyester Needs Its Own Dyeing Route
Polyester is a hydrophobic, tightly crystallised polymer with essentially no ionic dye sites. Water-soluble dye classes have nothing to grip, so the industry dyes it with disperse dyes: small, non-ionic, sparingly soluble molecules held in dispersion. Above the glass transition, and in practice around 130 °C under pressure, the fibre opens enough for these molecules to diffuse in and become mechanically trapped as it cools.
That single fact explains the shape of the whole route: a pressure vessel, a slow and controlled ramp, a hold at temperature, and a clearing step afterwards to strip what never penetrated. Nylon, by contrast, takes acid dyes at atmospheric boil, which is one of the practical processing differences between the two polymers covered in our comparison of polyester versus nylon for woven programs.
The Route at a Glance
Piece dyeing runs the cloth through five stages. The table summarises what each one does and what goes wrong when it is done badly.
| Stage | What happens | What can go wrong |
|---|---|---|
| Pretreatment | Scouring removes size, spin finish and lubricants; relaxation releases weaving stress | Residual oil repels dye and causes blotchy, unlevel shades |
| HT dyeing | Disperse dye exhausts onto the cloth at about 130 °C in a jet or beam machine | Fast ramps or poor circulation give unlevelness and creases |
| Reduction clearing | Alkaline reduction strips unfixed surface dye | Skip it and wet and dry crock fastness collapse |
| After-treatment | Softeners and functional finishes are applied to build the ordered hand | Wrong chemistry yellows pale shades or dulls deep ones |
| Heat setting | Stenter sets width, stability and residual shrinkage | Uneven temperature across the frame creates side-centre shade |
Pretreatment: Where Unlevelness Is Born
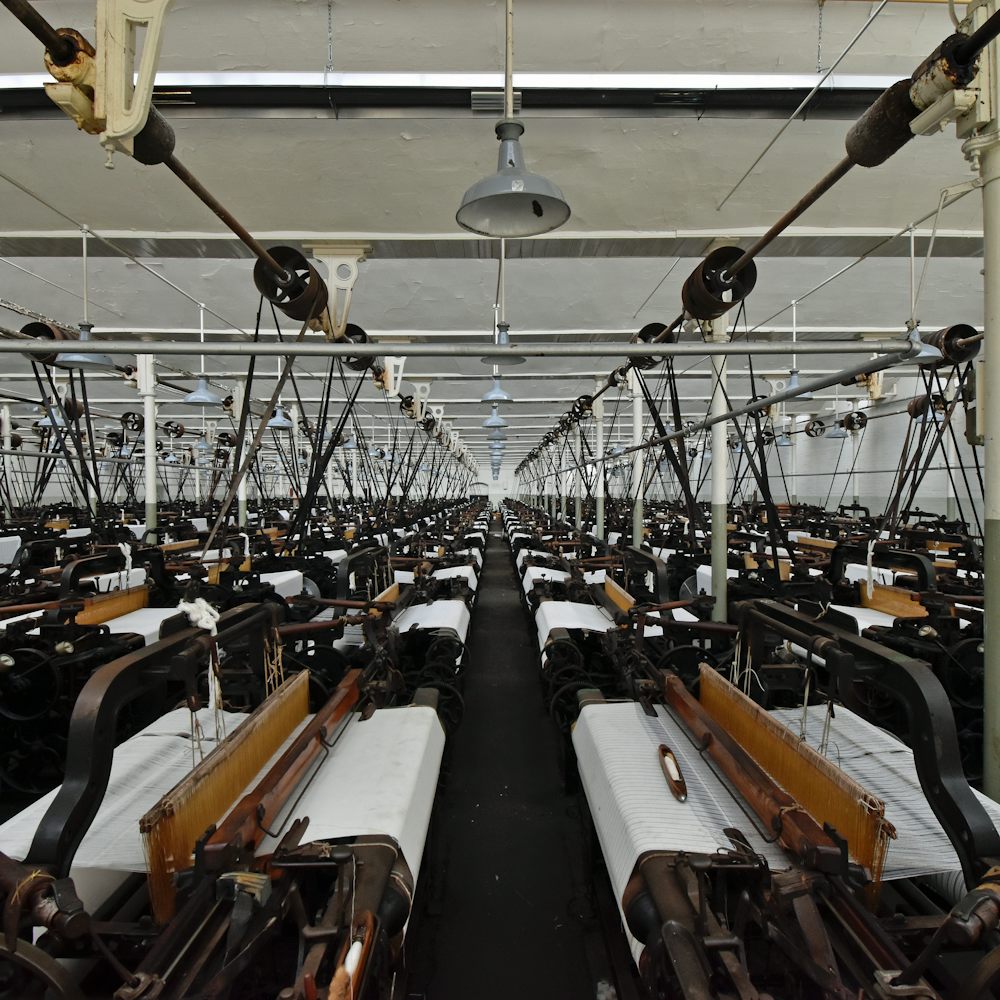
Greige polyester carries sizing, waxes and spinning oils that dye cannot penetrate. Scouring with alkali and detergent strips them; a relaxation pass lets the fabric recover the tension it accumulated on the loom, which otherwise reappears as crease marks in the dyebath.
Poor scouring is the most common root cause of blotchy dyeing. Oil spots dye lighter or darker than clean cloth, and patchy preparation shows up as cloudiness that no correcting cycle removes. This is why reputable mills refuse to dye inadequately prepared greige rather than gamble a lot on it.
High-Temperature Exhaust Dyeing
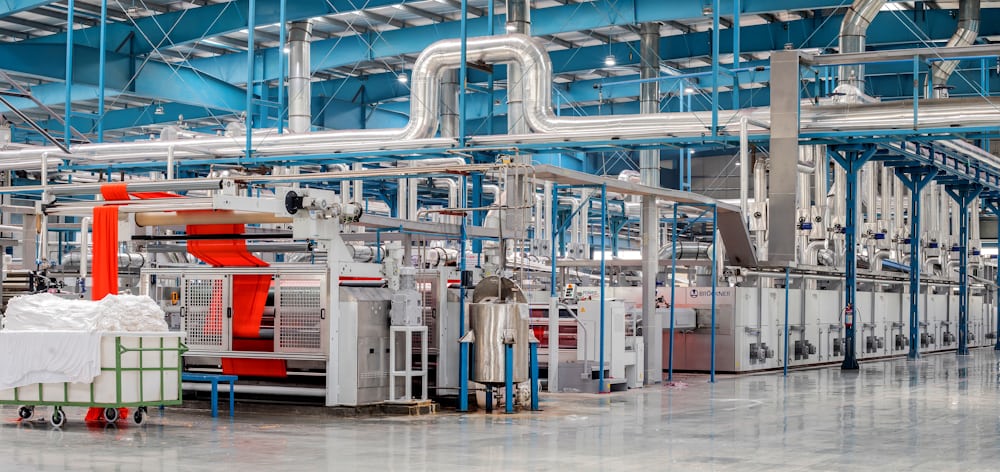
Apparel wovens are dyed mainly in jet or overflow machines, where the cloth circulates through the liquor under pressure. The machine heats to around 130 °C at a controlled rate, holds for a period that depends on depth of shade, then cools in a controlled way before the bath is dropped.
Three machine choices matter to a buyer. Lightweight taffetas and linings, which crease easily, often run on a beam, held flat on a perforated roller with liquor pumped through it, at some cost to levelness. Standard jacket and lining weights run on jets. Very long runs of a single shade, particularly print bases, can be dyed continuously by pad-thermosol, where dye is padded on and fixed in dry heat.
Levelness is controlled by ramp rate, circulation and dosing rather than by heroic correction afterwards. A shade that comes out unlevel is re-dyed or stripped at real cost to strength and hand, which is why mills guard their ramp profiles closely.
Reduction Clearing and Fastness
Not every dye molecule reaches the inside of the fibre. A fraction sits on the surface, loosely held, and it is this fraction that transfers onto white cloth in a wash test or a crock meter. Reduction clearing — an alkaline sodium hydrosulphite treatment after dyeing — destroys the unfixed surface dye and locks in the fastness the shade is capable of.
Deep shades are where the step gets skipped, because clearing appears to dull the colour and costs machine time. The result shows up later, on the buyer's side of the transaction: a wet-rubbing grade that fails the test report. If you specify fastness targets, you have effectively specified that clearing was done properly. Our guide to reading a fabric test report sets out the grades to demand for each fastness test.
After-Treatment and Heat Setting
After clearing, the cloth is finished. Softeners build the hand — a hydrophilic silicone for a dry, slick touch; a cationic softener for fullness — and any functional finishes are applied at this point. Softener chemistry interacts with shade: some yellow pale shades, others dim bright ones, so pale colours are finished with chemistry chosen for colour stability.
Heat setting on the stenter then fixes width and dimensional stability. Held at temperature for a few seconds, the polyester crystallises into the geometry it was given, which is what makes the residual shrinkage in the test report small and repeatable. Setting also trades width against weight, as covered in our guide to specifying fabric weight, because the same mass spread over more width reads as a lower gsm.
Where Shade Variation Comes From
Two patterns account for most shade claims on dyed wovens, and they have different causes and different fixes.
Side-centre difference
Side-centre shade difference is a visible tonal gradient across the width, from one selvedge to the other or from edge to middle of the piece. The usual cause is not the dyebath at all but the stenter: a nozzle or burner running hotter on one side, uneven airflow across the frame, or clips and pins that stretch edges differently. Because disperse dye shade is sensitive to setting temperature, a few degrees across the width is enough to see. It is checked by cutting a full-width strip and comparing edge, quarter and centre against the approved standard under the agreed light source.
Lot-to-lot difference
Lot-to-lot shade difference appears between dyeings of what is nominally the same colour. Causes include a new dye lot with different strength, a different liquor ratio or machine loading, water chemistry drift, a shortened hold time under schedule pressure, or simply a different machine. Mills control it with lab dips and shade-matching instrumentation, but the practical defence on the buying side is structural: approve each bulk head sample, and hold each bulk lot to the approved standard rather than to the previous lot.
How to Buy Colour That Matches
Five practices remove most colour disputes before production starts.
- Approve a lab dip first, and record the light source — D65, TL84 or the store lighting that matters — because disperse dye combinations can metamise between sources.
- Approve a bulk head sample, cut from the first piece of the actual production lot. Lab dips predict; bulk proves.
- Specify shade continuity — maximum visible difference between roll beginnings and ends, and between lots within the order — rather than leaving it to goodwill.
- Agree a colour tolerance in ΔE terms under the named light source, and how many readings per roll.
- Specify fastness minimums for wash, rubbing and light, which effectively specifies dye selection and clearing discipline.
For colour applied as a print rather than a solid dyed ground, the decision logic differs — the comparison of digital, screen and sublimation printing on polyester wovens covers when printing beats dyeing. For how dyeing and finishing fit into the wider sourcing picture, see the polyester woven fabric buyer's guide.
Frequently Asked Questions
Why can't polyester be dyed at the boil like other fibres?
Below about 100 °C the polymer is too closed for disperse dye molecules to diffuse in at commercial speed. Pressure dyeing at around 130 °C opens the structure enough for exhaustion, which is why the industry runs HT jet and beam machines.
What is reduction clearing, and can it be skipped?
It is an alkaline treatment after dyeing that destroys unfixed surface dye. Skipping it saves machine time and dulls nothing, but wet and dry crock fastness drop sharply — a saving that turns into a failed test report.
Is beam dyeing better than jet dyeing?
Neither is better outright. Beams hold crease-prone lightweight cloths flat and clean; jets give better levelness and are standard for most jacket and lining weights. The cloth decides.
What causes the shade to change between edge and centre of the same roll?
Usually uneven stenter temperature or airflow across the width, occasionally uneven tension from the clips. It is detected on a full-width strip and corrected at the frame, not in the dyebath.
How do I keep the same shade across several dye lots?
Approve each bulk head sample against the same standard, keep the same dyehouse and machine where possible, and specify continuity between lots in writing. Performance details such as available lot sizes depend on the order and are confirmed on request.
Next Step
Build colour into your specification the way you build weight: a lab dip under a named light source, a bulk head approval, written continuity and fastness minimums. Send your shade reference or swatch with the end use and we will confirm the dyeing route, the fastness levels we expect and the approval sequence with our long-term partner dyehouses. If the colour route itself is still open, tell us the garment and target market and we will come back with the options for dyed versus printed grounds.